
Quick Guide
A simple guide to how LIVIS works, what to upload and how to get started.
This page is designed to make behaviour intelligence easy to operationalise. No jargon. No unnecessary complexity. Just a clear view of how LIVIS fits into the conversations and workflows organisations already have.
You’ll find clear guidance on:
How LIVIS works
What makes a useful interaction
How to access or generate transcripts
How behaviour analysis is handled securely
How organisations use LIVIS responsibly
HOW DOES LIVIS WORK?
LIVIS turns real organisational interactions into clear behaviour visibility and insight. Here’s how the process works.
Step 1: Define the scope
Identify the team, function or organisational area you want to understand. This may involve leadership interactions, team communication, hiring discussions, operational meetings or broader organisational conversations.
Explore the LIVIS behaviour intelligence solutions:
Behaviour Scan
Behaviour Review
Behaviour Tracking
Behaviour Intelligence
Each solution supports a different level of behaviour visibility — from focused team insight through to enterprise-wide behaviour intelligence.
Step 2: Secure access is issued
Approved stakeholders receive secure access to the LIVIS platform, allowing transcripts and interactions to be uploaded safely within a controlled environment.
Step 3: Upload conversations securely
Interactions are uploaded through the LIVIS platform using secure AWS infrastructure. Uploads remain confidential and are processed within a protected environment.
Step 4: Behaviour analysis begins
The Analyst, our AI-driven platform, reviews interactions to identify behaviour patterns, communication dynamics, leadership trends and organisational behaviours shaping outcomes. Combined with expert interpretation and recommendations
Step 5: Receive behaviour insight
LIVIS delivers objective behaviour visibility to support leadership, organisational and risk-related decision-making.
Outputs may include:
Behaviour patterns and themes
Communication and decision-making dynamics
Behaviour risk visibility
Organisational trend analysis
This is behaviour intelligence grounded in real organisational interactions — not opinion or assumption.
WHAT MAKES A USEFUL INTERACTION?
You do not need perfect data. You simply need a clear record of a real interaction.
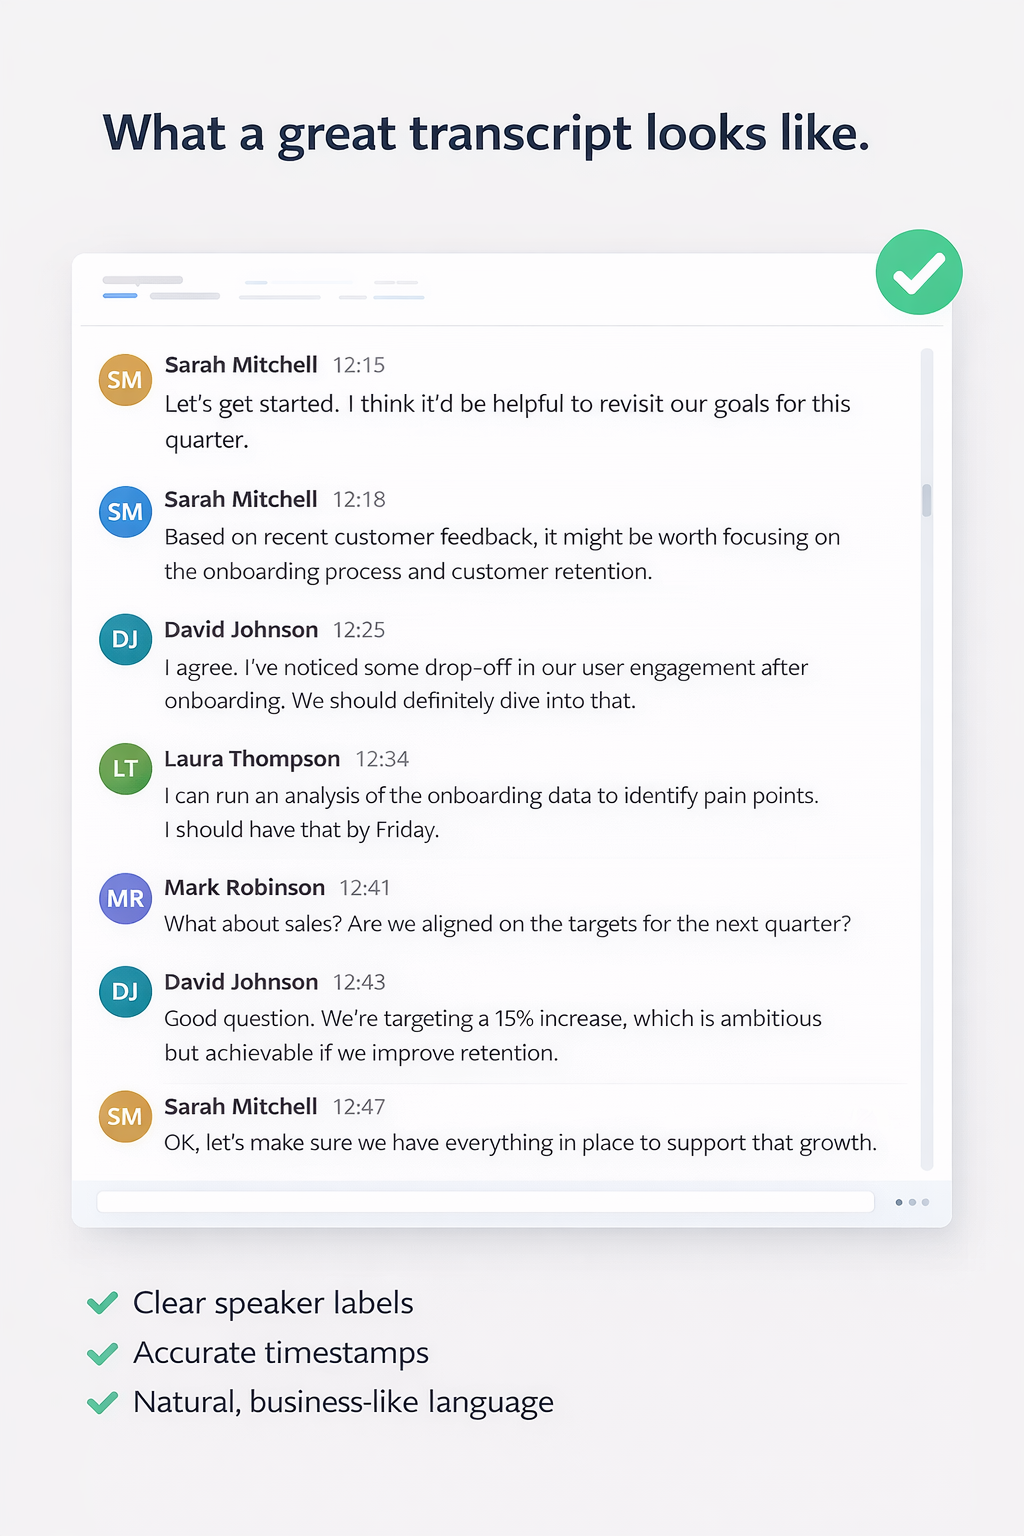
Useful interactions typically include:
Clear speaker names or roles
Natural, everyday conversation
Minimal editing or rewriting
Accurate transcription where possible
Real discussion, challenge or decision-making
What works best
Leadership meetings, team discussions, interviews, operational reviews, customer conversations, one-to-ones and decision-making sessions — anything where real interaction happens.
Data security
All uploads are processed securely using enterprise-grade AWS infrastructure. Data remains confidential, encrypted and protected throughout the process.
HOW DO I ACCESS A TRANSCRIPT?
Most organisations already have access to transcripts — they simply have not needed to use them this way before. Below are simple instructions for the most common platforms.
Microsoft Teams
Step 1: Start recording and transcription
Join the meeting
Click the three dots (More actions) in the meeting controls
Select Record and transcribe → Start recording
Transcription will begin automatically if enabled by your organisation
Step 2: End the meeting
End or leave the meeting as normal
Step 3: Find the transcript
Open the meeting chat or calendar event
Locate the transcript within the meeting details
Step 4: Download the transcript
Select Transcript
Click Download and save the file
Zoom
Step 1: Start recording
Click Record in the meeting controls
Select Record to the cloud to enable transcription
Step 2: End the meeting
End the meeting as normal
Step 3: Find the transcript
Log into your Zoom account
Go to Recordings → Cloud recordings
Step 4: Download the transcript
Download the transcript file from the recording
Google Meet
Step 1: Turn on transcription
In the meeting, click the three dots
Select Turn on transcripts (availability depends on your plan)
Step 2: End the meeting
End the meeting as normal
Step 3: Find the transcript
Transcripts are typically saved to Google Drive
Open the folder linked to the meeting
Meeting Assistants (Otter, Fathom and similar tools)
1. Record the meeting as normal
2. Open the meeting summary within the tool
3. Export or download the transcript
Face to Face Meetings
If conversations happen in person, keep it simple:
Use a phone or trusted recording device
Ask a note-taker to capture the discussion
Upload the recording to a secure transcription tool if required
Clarity matters more than equipment. Use what already works within your environment.
Responsible Use
LIVIS is designed to support responsible organisational behaviour insight.
Organisations using LIVIS are responsible for ensuring interactions are shared appropriately and in line with internal governance, participant expectations and applicable regulations.
All analysis is processed securely within AWS infrastructure and focuses on behaviour patterns and organisational dynamics rather than confidential subject matter.
Where additional safeguards are required, transcripts can be redacted or anonymised before analysis.
For more information, please review:
If you need support, guidance or additional safeguarding arrangements, contact: support@livis-analytics.co.uk